When should you install an eSIM before travel?
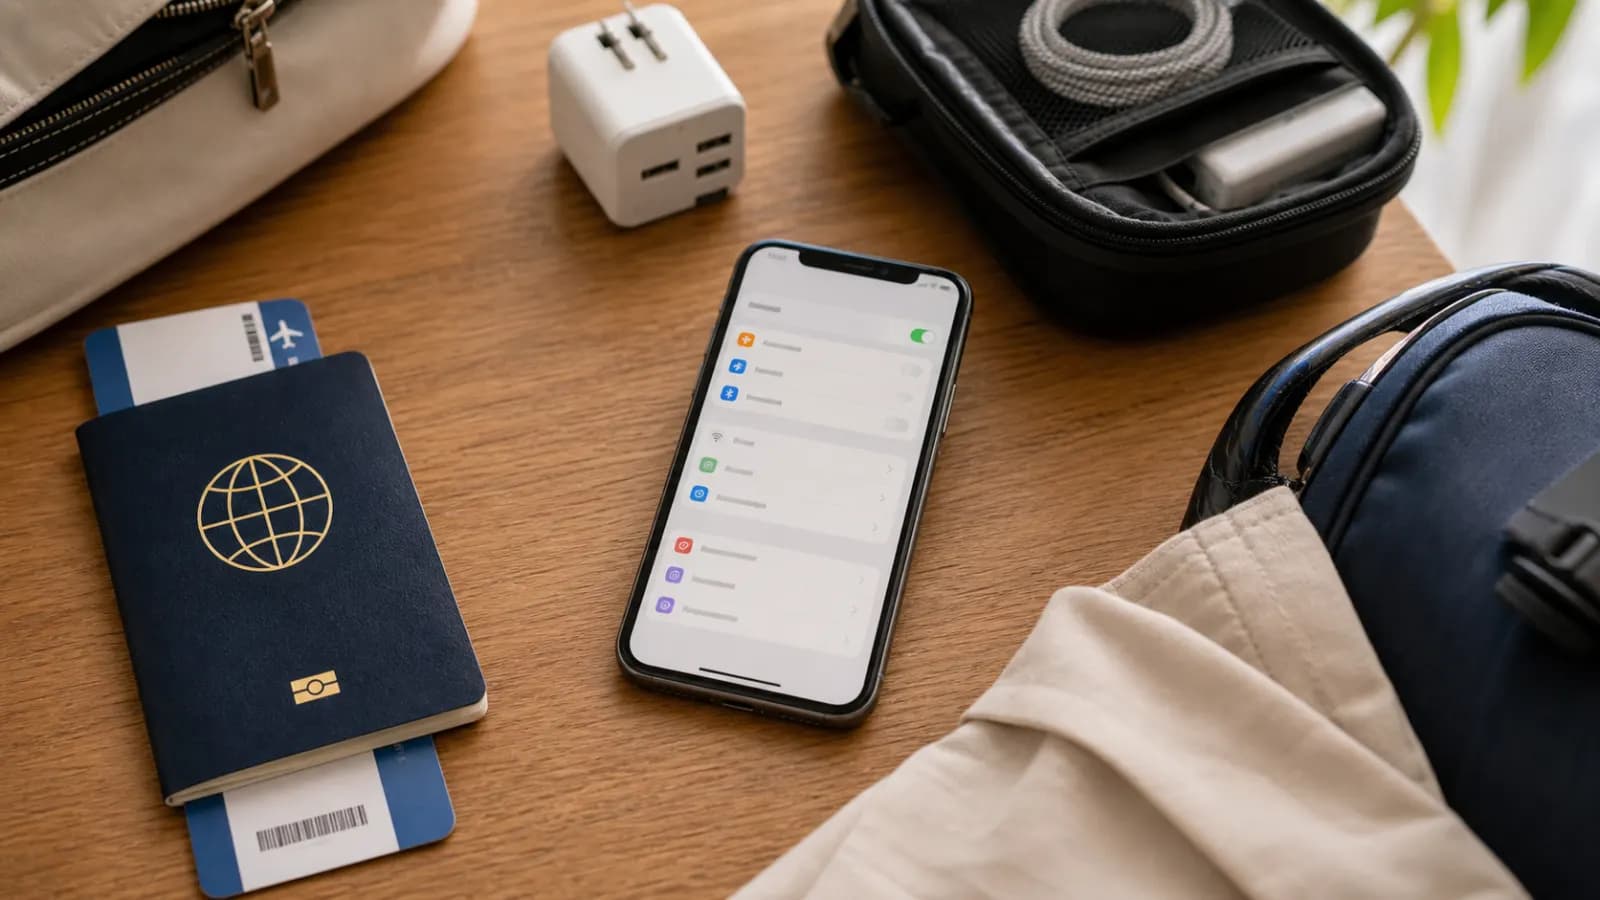
Install a travel eSIM before you leave home, while you have reliable Wi-Fi and time to fix a problem. First check when the plan's validity begins. If installation starts the plan, wait until shortly before departure. If the first connection abroad starts it, you can install earlier and turn it on after arrival.
That distinction matters more than a fixed number of days. A plan that starts at installation should not sit unused for a week. A plan that starts when it reaches a covered network can usually be added the night before your flight without using any paid travel time.
Quick answer: when should you set up each part?
Buying, installing, enabling, and connecting are separate parts of travel eSIM setup. Check the package instructions for the exact trigger, then use this timeline as a practical default.
| Step | Practical time | What to confirm |
|---|---|---|
| Buy the plan | Several days before departure | Coverage, data, validity, refund terms, and device support |
| Save the setup details | As soon as they arrive | QR code, manual code, support contact, and package instructions |
| Install the eSIM | At home, often the evening before travel | Whether installation starts the validity period |
| Choose the travel data line | After arrival or when the provider says | Home line is not selected for mobile data |
| Enable data roaming on the travel line | After arrival, only if required | Roaming remains off on the home line unless you need it |
| Test the connection | After the phone reaches a covered network | Signal, browser access, maps, and messaging work |
Do not scan a QR code until you have read the plan's start rule. The words "install" and "activate" are not used consistently across every seller, so the package terms take priority over a general setup guide.
When should you install an eSIM before your trip?
Install the eSIM at home once you have the setup details and have confirmed the activation rule. For plans that begin on the first covered network connection, the evening before travel is a practical time. If validity begins at installation, wait until the provider's recommended window so you do not waste paid days.
Installing at home gives you reliable Wi-Fi, access to another screen for the QR code, and time to contact support. It also lets you label the new line "Travel" before a rushed airport transfer. You can leave that line off, or keep it from handling mobile data, until the package instructions tell you to connect.
The commonly repeated advice to install one to three days early is only a rule of thumb. The actual answer comes from the plan's validity trigger.
What starts a travel eSIM plan?
A travel eSIM can start at purchase, installation, manual activation, or first connection to an eligible network. The package page or installation email should state which event begins the validity period. If it does not, ask support before installing.
| Validity trigger | What it means | Best approach |
|---|---|---|
| Purchase | The clock starts when payment completes | Buy close enough to departure that the plan covers the trip |
| Installation | Downloading the profile starts the clock | Install within the seller's stated window |
| Manual activation | A button or account action starts the clock | Install first if allowed, then activate when instructed |
| First covered network connection | The clock starts when the eSIM reaches a supported network | Install at home and select it for data after arrival |
| Fixed start date | Service begins on the date chosen at checkout | Recheck the date and destination time zone |
Do not assume that turning off data roaming pauses an active plan. Once the validity clock has started, disabling the line usually stops usage, not the passage of calendar days.
Can I install an eSIM before I leave home?
Yes. You can usually install an eSIM before leaving home, and that is often the easiest place to do it. Use stable Wi-Fi, keep the activation email nearby, and confirm that installation will not start the plan too early. Leave the travel line out of service until its instructions say to connect.
Before scanning the code, check that:
- The phone supports eSIM and is unlocked for another carrier.
- The package covers every country on the route, including any long layover where you expect service.
- The validity period reaches the final travel day.
- You know what starts the plan.
- The phone has enough battery to finish the profile download.
- The QR code is visible on another device, or you have the manual installation details.
- You have saved the seller's support channel for offline access.
Apple says an iPhone normally needs Wi-Fi or a hotspot to set up an eSIM. Google's Pixel instructions also direct users to add the profile through the phone's network settings. Doing this before departure avoids relying on airport Wi-Fi or finding a connection after landing.
What is the difference between installing and activating an eSIM?
Installing an eSIM downloads a carrier profile to the phone. Enabling the line allows the phone to use that profile. Selecting it for mobile data tells the phone which line should carry internet traffic. Plan activation is the provider's event that starts service or validity.
Those events can happen together, but they do not always. A profile may appear in Settings at home while the plan remains unused because it has not connected to a destination network. Another package may begin its seven-day validity as soon as the profile is installed, even if the line stays off.
Use these labels while setting up:
- Installed: The profile appears in the SIM or Cellular settings.
- Line on: The phone is allowed to register that profile on a network.
- Selected for data: Apps can use the eSIM's mobile data.
- Connected: A supported network has accepted the eSIM.
- Validity started: The provider's package clock is running.
The phone can confirm the first four states. The package terms or account screen must confirm the fifth.
How do you install a travel eSIM on iPhone before departure?
Apple's current eSIM setup guide supports QR codes, carrier links, carrier apps, and manual entry. The exact option depends on what the provider sends.
- Connect the iPhone to reliable Wi-Fi.
- Open Settings > Cellular or Settings > Mobile Data.
- Tap Add eSIM or Add Cellular Plan.
- Scan the QR code, open the provider's activation link, or choose manual entry.
- Follow the prompts and label the new line "Travel."
- Keep the home line as the default voice line if you still need its number.
- Do not select the travel line for mobile data until the plan instructions say to use it.
On recent iPhones, a QR code opened in the default email app or browser may offer an Add eSIM action when you press and hold it. Otherwise, display the code on a laptop, tablet, or another phone. If the provider supplies an SM-DP+ address and activation code, use the manual entry option instead.
Apple's international travel guidance also explains how to keep a home line active while using a travel eSIM for data. Leaving the home line on may still produce roaming charges for calls, voicemail, or other carrier services, so check the home carrier's terms.
How do you install a travel eSIM on Android?
Android menu names vary by phone maker and software version. On a Pixel, Google's current setup path is Settings > Network & internet > SIMs > Add SIM > Set up an eSIM. Follow the provider's prompts after that point.
On Samsung Galaxy phones, the usual route is Settings > Connections > SIM manager > Add eSIM. Other Android phones may use Mobile network, SIMs, or Cellular plans. If the menu is missing, check the exact model and sales region rather than assuming every version of that phone supports eSIM.
After installation:
- Give the profile a clear travel label.
- Keep the home SIM as the call and SMS line if needed.
- Prevent automatic data switching back to the home line.
- Leave the travel line off or unselected for data until the provider's activation step.
Check the exact phone model, sales region, and carrier lock before buying. A model name alone may not confirm eSIM support in every market.
How to activate an eSIM in another country
To activate an eSIM abroad, connect to Wi-Fi if the profile still needs to be installed. Turn on the travel line, select it for mobile data, and enable data roaming on that line only when the provider requires it. Then wait for the phone to register on a covered local network.
Use this arrival sequence:
- Turn off airplane mode after the aircraft doors open and local rules allow it.
- Open the phone's SIM or Cellular settings.
- Turn on the travel eSIM line.
- Select the travel eSIM for mobile or cellular data.
- Turn off mobile-data switching to the home line.
- Enable data roaming on the travel line if the package instructions require it.
- Confirm that data roaming remains off on the home line unless you knowingly need it.
- Wait a few minutes, then open a browser or maps app to test data.
Installing after arrival can still work, but you need internet access to download the profile. Hotel Wi-Fi is usually a better place to do this than an airport arrivals hall. Keep the QR code or manual details available on another screen.
If the plan covers several countries, the same profile should reconnect as you cross borders. You should not need to reinstall it. Our country eSIM vs regional eSIM guide explains when one regional plan is a better fit than separate country plans.
What can you test before the flight?
You can confirm that the eSIM appears in the phone, has the right label, and can be selected in the SIM settings. You can also check which line is assigned to calls, SMS, and mobile data. These checks do not prove that the travel network will work at the destination.
Avoid forcing a connection at home unless your plan covers your home country and you intend to start it. A plan with first-network activation may begin early if your current country is included in a regional or global package.
Save these details before leaving:
- The order number and package name.
- The activation rule and expiry date.
- The QR code or manual installation values.
- The required APN, if the provider supplied one.
- The supported network list, if available.
- The support contact and troubleshooting page.
What if the eSIM does not connect after landing?
First, confirm that the travel line is on, selected for mobile data, and allowed to use data roaming when required. Wait a few minutes because network registration is not always immediate. Then toggle airplane mode once and restart the phone if the connection still does not appear.
Check the following in order:
- The destination is included in the package.
- The plan has started and has not expired.
- The correct eSIM is selected for data.
- Data roaming is set according to the provider's instructions.
- Automatic data switching is not sending traffic through the home SIM.
- Network selection is automatic, unless the provider names a specific network.
- The APN matches the package instructions, if manual APN setup is required.
Do not delete the eSIM as a first troubleshooting step. Some profiles or activation codes cannot be installed again without help from the provider. Keep the profile in place and contact support with screenshots of the package status, SIM settings, and any error message.
Is it better to install at home or at the airport?
Home is usually better because you control the Wi-Fi, charging, and access to a second screen. The airport is a fallback when the plan starts at installation and the provider tells you to wait. Even then, install before boarding rather than after losing access to dependable internet.
If you must set up at the airport, charge the phone first and save the instructions offline. Avoid public charging cables you do not trust. Use your own charger, a power bank, or a power-only adapter.
Choose a plan that fits the activation window
Roaming eSIM publishes this guide and sells travel data plans. The cards below are shopping links from our live catalog, not an independent ranking of setup providers. Read each package's current coverage, validity, activation, device, and refund terms before paying.
For a multi-country trip, compare the Global, Europe, and Asia plans. For a single destination, a country package such as the United States eSIM may be more focused. The travel eSIM vs roaming guide covers the cost and setup tradeoffs, while the international eSIM buying guide explains what to check before checkout.
Frequently asked questions
How many days before travel should I install an eSIM?
Install it when the provider's activation rule allows. For a plan that starts on the first covered network connection, the evening before departure is practical. If installation starts the validity period, wait until the recommended window so the plan lasts through the trip.
Does installing an eSIM activate it?
Sometimes. Installation only downloads the profile, but a provider may use that event to start the plan. Other plans start after manual activation or the first connection to a covered network. Check the package wording before scanning the QR code.
Can I install an eSIM before I leave home?
Yes. Most travel eSIMs can be installed at home over Wi-Fi. Confirm that your phone is unlocked and compatible, then check whether installation starts the plan. Keep the travel line off or unselected for data until the provider tells you to connect.
Can I activate an eSIM after arriving abroad?
Yes, if the provider permits it. You need Wi-Fi or another internet connection if the profile has not been downloaded. Once installed, turn on the travel line, select it for data, and follow the package instructions for data roaming and network selection.
Do I need Wi-Fi to install an eSIM?
Usually, yes. The phone needs an internet connection to download the eSIM profile. Apple says most iPhones need Wi-Fi or a hotspot for setup, with limited exceptions. Install at home or use dependable private Wi-Fi after arrival.
Should data roaming be on for a travel eSIM?
Turn on data roaming for the travel line only when its instructions require it. Many travel eSIMs use partner networks and need this setting. Keep roaming off on the home line unless you understand the carrier charges.
Should I delete an eSIM after a failed setup?
No. Check the line, data selection, roaming setting, coverage, APN, and package status first. Deleting the profile may make the original activation code unusable. Contact support before removing it.